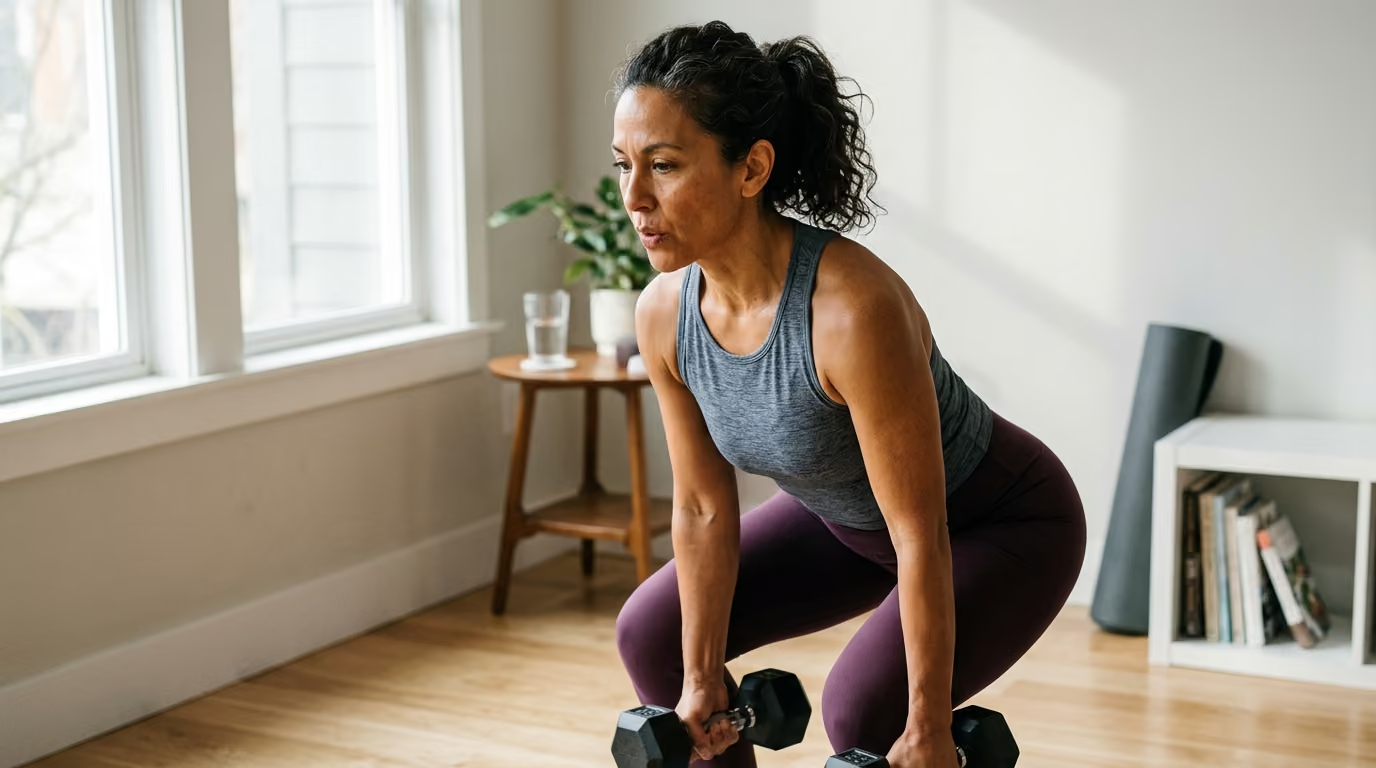

Enhanced core stability and balanced intra-abdominal pressure empower midlife lifters to execute heavy squats, deadlifts, and presses with superior control and safety.





Standard fitness advice often tells you to exhale every time you push or pull a weight. High-performance lifting manuals offer the opposite instruction, telling you to hold your breath as hard as possible to protect your spine. Following either rule without context can hinder your strength training in midlife.
Breathing and bracing during resistance training are not simple binary choices. They are physical skills that control pressure across your chest, abdomen, and pelvic floor. When you adjust these mechanics to match the exercise and load, you can move heavier weights with greater comfort and precision.
Understanding how your body manages internal pressure lets you tailor your technique to your individual health background. Proper breathing supports force production while respecting your cardiovascular system and pelvic floor.
Strength training requires your body to manage two competing demands at the exact same time. Your lungs must exchange oxygen and carbon dioxide to prevent premature fatigue. At the same time, your torso must create enough stiffness to transfer force and keep your spine stable.
When you contract your abdominal muscles against an incoming breath or a closed airway, you create intra-abdominal pressure. Intra-abdominal pressure refers to the fluid pressure inside your abdominal cavity. Research shows that raising this pressure increases trunk rigidity and helps stabilize the spine during heavy resistance exercise according to a systematic review published in the Journal of Strength and Conditioning Research.
The amount of pressure your body generates depends heavily on the specific exercise you perform. A systematic review examining pressure values during weightlifting found that squats generated the highest intra-abdominal pressure, often exceeding 200 mmHg. Deadlifts, slide rows, and leg presses produced moderate to high pressure values around 161 to 176 mmHg. Bench pressing produced much lower values, averaging roughly 79 mmHg.
These measured numbers are physical observations rather than mandatory targets for every workout. They illustrate that different movements naturally place different pressure demands on your torso. A heavy squat requires far more trunk stiffness than a seated biceps curl or a light dumbbell row.
Intra-thoracic pressure, which is the pressure inside your chest cavity, also changes during exertion. When you perform the Valsalva maneuver by trying to exhale against a closed airway, both chest and abdominal pressure rise rapidly. This sudden rise increases trunk stiffness, but it also causes a sharp spike in acute blood pressure and heart rate.
A cited study comparing leg-press performance found that participants using a full Valsalva maneuver reached mean blood pressures of 311/284 mmHg. Participants using free breathing during the same exercise recorded mean blood pressures of 198/175 mmHg. While these numbers reflect short exercise spikes rather than resting diagnoses, they highlight the cardiovascular cost of total breath-holding.
Breath-holding also alters how hard a workout feels. A randomized crossover study evaluated healthy women performing bodyweight and loaded squats under different breathing conditions. When participants held their breath during the upward phase, their heart rate increased by 2 to 5 percent and systolic blood pressure rose by 16 to 23 percent compared to controlled breathing. Their rate of perceived exertion also rose by 14 to 19 percent.
These acute blood pressure spikes during lifting must be distinguished from long-term cardiovascular health. A comprehensive meta-analysis revealed that consistent resistance training reduced resting blood pressure by an average of 3.9 mmHg in normotensive and prehypertensive adults over time. Lifting weights builds cardiovascular resilience, provided you manage acute breath-holding safely during high-effort sets.
As women navigate the hormonal transition of perimenopause and menopause, changes in estrogen levels can influence connective tissue elasticity and muscle composition. Collagen turnover decreases, which can affect the stiffness of tendons, ligaments, and the fascia wrapping around your abdominal wall. These structural shifts mean that the physical feedback you felt in your twenties may feel slightly different in your fifties.
Many midlife women also manage histories that affect core function. Pregnancy, childbirth, pelvic surgery, or years of chronic straining can alter how the abdominal wall and pelvic floor communicate. Aging is not a physical failure or a disease state. It is simply a stage of life that requires better technical precision during heavy physical work.
A common mistake made by midlife women is attempting to stabilize the torso by drawing the stomach inward. This action is often called abdominal hollowing or drawing-in. While pulling the navel toward the spine activates deep local muscles, it generates very little internal pressure to support heavy loads.
Laboratory measurements show that abdominal drawing-in produces intra-abdominal pressure increases of only about 11.7 mmHg. In contrast, circumferential abdominal bracing produces pressure increases around 116.4 mmHg. A seated Valsalva maneuver produces values near 156.2 mmHg according to research measuring trunk mechanics.
Drawing your stomach inward while attempting a heavy squat or deadlift reduces the structural support around your lower back. Bracing requires you to stiffen the abdominal wall outward and sideways, creating 360-degree support around your spine. Learning this distinction allows you to protect your joints while lifting heavier weights safely.
Midlife core training should move away from cosmetic flattening and focus on functional rigidity. A strong brace feels firm around the waist, back, and sides without restricting your ability to take controlled breaths. This approach preserves joint integrity without causing unnecessary strain on surrounding tissues.
Understanding pressure management changes how you move outside the gym. Carrying heavy bags, moving furniture, lifting luggage, or playing with grandchildren all demand short bursts of torso stability. Managing your breath prevents lightheadedness and protects your back during daily activities.
To visualize correct mechanics, picture your torso as a pressure cylinder. The top of the cylinder is formed by your diaphragm and rib cage. The front and sides consist of your abdominal muscles, while your paraspinal muscles form the back. The bottom of the cylinder is sealed by your pelvic floor, supported by your pelvis and spine.
When you prepare to lift a load, this entire cylinder must work together. If you flare your ribs upward, you open the top of the cylinder and break its structural alignment. If you push downward excessively without contracting your pelvic floor, you direct unnecessary strain toward the bottom of the cylinder.
Proper bracing creates balanced support throughout the entire system. Building this control enhances your capability during structured strength and body composition training. You can generate more power in every movement while leaving every session feeling energized rather than physically drained.
Managing internal pressure prevents sudden blood pressure spikes that leave you dizzy after a heavy set. It allows you to maintain stable body alignment across every rep. This technical control builds confidence when approaching heavier weights on compound movements.
Breathing is a flexible skill that should adapt to the difficulty of the task. Instead of applying one rigid rule to every exercise, use a three-level framework based on training intensity and experience.
Continuous breathing keeps air moving rhythmically through your lungs while maintaining mild trunk tension. Use this approach during warm-ups, isolation exercises, machine movements, high-repetition sets, or mobility drills.
Inhale during the easier phase of the movement when muscles are lengthening. Exhale smoothly through the effort phase without letting your chest or abdomen collapse. Continuous breathing keeps heart rate stable and prevents unnecessary cardiovascular stress during light work.
Braced breathing is the default strategy for moderate to heavy compound lifts. Use it for barbell squats, deadlifts, overhead presses, heavy rows, and loaded carries.
Inhale before starting the repetition to expand your torso in all directions. Brace your abdominal wall firm around that air, like preparing for a light impact to your midsection. Perform the hardest part of the lift, then release a controlled stream of air near the top of the movement.
A brief breath-hold is reserved for near-maximal attempts, heavy single repetitions, or passing through an intense sticking point. Use this technique sparingly and only when maximal trunk rigidity is required to execute the lift safely.
Take a firm, controlled breath and brace your torso completely before starting the repetition. Keep your glottis closed for a brief fraction of a second as you pass the hardest point of the lift. Release your breath immediately once you pass that sticking point and finish the repetition under full control.
Avoid holding your breath across multiple repetitions in a single set. Holding your air for ten consecutive reps increases acute blood pressure without offering additional physical stability. Resetting your breath between repetitions keeps your torso stable while allowing oxygen to circulate.
To reset your breath between reps, complete the movement under total control and pause briefly at the starting position. Release your remaining air, check your posture, and take a fresh breath into your abdomen and ribs. Re-brace your midsection securely before starting your next repetition.
Different exercise setups require distinct breathing approaches to maintain optimal mechanics. Applying specific cues to foundational strength exercises helps you maintain stability while controlling internal pressure.
The goblet squat is an ideal exercise for learning circumferential bracing. Holding a kettlebell or dumbbell in front of your chest encourages an upright posture and keeps your rib cage aligned directly over your pelvis.
Inhale deeply through your nose while standing tall, letting your ribs and waist expand outward. Brace your midsection gently without sucking your abdomen inward. Lower yourself into the squat under control while holding that stable torso position.
Exhale through pressed lips as you drive through your feet to stand up. Releasing air during the upward push prevents excessive pressure from building in your chest. Pause at the top to clear your breath before beginning your next repetition.
Barbell squats generate some of the highest intra-abdominal pressure readings measured in exercise science, often exceeding 200 mmHg under heavy loads. Managing your breath during back squats is essential for protecting both your spine and your pelvic floor.
Set your feet and grip the bar firmly while standing beneath the rack. Take a deep breath into your midsection, creating 360-degree tension around your torso before unrack. Step back, set your stance, and take one final breath to brace your core completely.
Descend smoothly into the squat while keeping your torso rigid and balanced over your midfoot. Begin exhaling slowly as you pass the hardest point of the upward drive. Complete the stand, clear your breath at the top, and reset your posture before taking another breath for the next rep.
The deadlift requires significant trunk stiffness to move a weight off the floor without flexing your lower back. Because deadlifts begin from a static position, establishing proper torso tension before the pull is critical.
Step up to the bar with your feet hip-width apart and hinge at your hips to take your grip. Before pulling the bar, inhale into your abdomen, sides, and lower back to fill your pressure cylinder. Brace your abdominal wall outward against your waistband while pulling your shoulders down away from your ears.
Drive your feet into the floor and lift the weight while holding that rigid torso position. Exhale under control as the bar passes your knees and you lock out your hips at the top. Lower the weight under control, let it rest on the floor, and take a full breath to reset your brace before the next rep.
The leg press allows you to move heavy weights without supporting the load on your spine. However, the seated position can lead to high cardiovascular stress if you hold your breath aggressively against the machine.
Sit with your back flat against the pad and your feet firmly placed on the sled. Lower the plate under control until your knees reach a 90-degree angle without letting your tailbone curl off the seat. Deep hip flexion combined with hard breath-holding can increase pressure against your lower abdomen and pelvic floor.
Exhale steadily as you press the footplate away from your body. Avoid locking out your knees forcefully at the top of the movement. Keeping air moving continuously during the press phase keeps blood pressure steady and prevents dizziness when you finish the set.
Pressing weights overhead requires excellent coordination between your rib cage and pelvis. Flaring your ribs outward during an overhead press tilts your pelvis forward, placing excessive strain on your lower back.
Stand tall with your feet shoulder-width apart and your core engaged. Inhale deeply into your chest and midsection, then brace your abdominal wall to stack your rib cage directly over your pelvis. Press the weight overhead while exhaling through the hardest portion of the movement.
Keep your glutes contracted and your torso vertical as the weight moves above your head. Avoid leaning backward excessively to push the load. If you must arch your lower back to complete the press, lower the weight to preserve correct spinal mechanics.
Loaded carries, such as farmer's walks or suitcase carries, teach dynamic bracing while your body is in motion. They require your torso to remain stable while your legs move underneath you.
Pick up the weights using a solid deadlift posture and stand tall with your shoulders pulled back. Begin walking with deliberate, controlled steps while taking shallow, continuous breaths into your upper chest and ribs. Brace your abdominal wall gently with every step to prevent your hips from swaying.
Avoid holding your breath while walking with heavy weights. Learning to breathe while maintaining partial abdominal bracing builds real-world resilience that transfers directly to daily life.
Seated cable rows build upper back strength while training expiratory coordination. This movement allows you to practice coordinating your breath with upper body pulling without generating excessive axial pressure on your spine.
Sit upright with your feet braced against the footrests and your knees slightly bent. Inhale as you let the handles move forward, feeling your shoulder blades spread lightly across your upper back. Brace your midsection briefly before initiating the pull.
Exhale as you draw the handles toward your lower ribs, pulling your shoulder blades together at the end of the motion. Avoid leaning backward aggressively to move the weight. Maintain a steady torso position, pause briefly at full contraction, and inhale smoothly as you return to the start.
Breathing mechanics play a major role in managing health concerns that become more common in midlife. Cardiovascular changes and pelvic floor symptoms require thoughtful adjustments to how you manage internal pressure during strength training.
If you have diagnosed hypertension, heart disease, or elevated eye pressure, avoid prolonged breath-holding during exertion. Holding your air against a closed airway creates large acute spikes in blood pressure. Using an exhale-on-effort strategy keeps blood circulating smoothly and reduces stress on your blood vessels.
Pelvic floor health is another priority for midlife women. Urinary leakage, pelvic heaviness, or prolapse symptoms should never be accepted as an inevitable consequence of aging. These symptoms often indicate that internal abdominal pressure is exceeding the pelvic floor's ability to resist downward force.
When you hold your breath and push downward aggressively, high intra-abdominal pressure can force the pelvic floor floor downward. One clinical framework describes proper effort as an expiratory motor synergy. This model suggests that contracting your abdominal muscles and pelvic floor together while exhaling through an open airway protects pelvic structures from excessive downward strain.
To support your pelvic floor during heavy training, try exhaling through the hardest portion of every repetition. Imagine gently lifting your pelvic floor upward as you blow air out through pursed lips. This upward lift counters downward abdominal pressure and helps maintain pelvic alignment.
If you experience pelvic floor symptoms during lifting, use a systematic progression to modify your workouts:
Managing pressure effectively preserves long-term strength while protecting your body. Paying attention to physical feedback allows you to build physical capability without compromising your intimate health and pelvic wellbeing.
Misinformation about core training and breathing technique is common in gym culture. Clearing up these misunderstandings helps you make informed choices about your training routine.
This blanket rule ignores how the body creates stability under load. Short breath-holds increase intra-abdominal pressure and provide necessary spinal protection during near-maximal lifts. The goal is not to avoid breath-holding entirely, but to reserve it for heavy efforts and keep the hold brief.
Using a full Valsalva maneuver on every light set creates unnecessary cardiovascular strain. Breath-holding increases heart rate, blood pressure, and perceived effort even during bodyweight movements. Save maximal bracing for heavy compound movements and use continuous breathing for lighter work.
Drawing your navel toward your spine activates deep local muscles, but it does not produce the 360-degree rigidity needed for heavy lifting. True abdominal bracing requires firming your midsection outward and sideways. Sucking in under a heavy load reduces your structural support.
Pelvic floor leakage or heaviness is not always caused by weak muscles. These symptoms often reflect poor movement timing, excessive downward pressure, or an inability of the pelvic floor muscles to relax between repetitions. Breathing exercises alone are not a substitute for targeted pelvic floor rehabilitation.
Systematic reviews examining breathing exercises for pelvic floor dysfunction found very limited evidence that breathing techniques can replace structured pelvic floor muscle training. If you experience persistent symptoms, work with a pelvic floor physical therapist to address your specific mechanics.
Hypopressive exercises involve exhaling completely, drawing the abdomen inward, and holding the breath to reduce pelvic pressure. A clinical trial in women with pelvic floor dysfunction showed that hypopressive training improved pelvic tone and quality of life scores. However, these specialized breathing drills do not provide the mechanical tension needed to build bone density or lean muscle tissue.
Hypopressive drills may serve as a useful tool for pelvic rehabilitation, but they cannot replace progressive resistance training. Muscle strength, bone mass, and metabolic health require moving physical loads against gravity.
Use this five-step decision process to select the right breathing and bracing strategy for any exercise in your training program.
Determine the mechanical demands of the exercise you are about to perform:
Observe how your torso behaves while you move the weight. If exhaling causes your chest to cave in or your lower back to round, firm up your circumferential brace before starting the repetition. If you still lose postural alignment, reduce the weight on the bar.
Pay attention to internal physical feedback during and after every set. If holding your breath causes dizziness, head pressure, or pelvic floor discomfort, switch immediately to an exhale-on-effort strategy. Adjusting your breathing keeps your workouts safe and comfortable.
Check that your rib cage remains stacked directly over your pelvis throughout the movement. Avoid flaring your ribs or arching your lower back to force a weight upward. Stacking your torso keeps your diaphragm and pelvic floor aligned in a strong pressure cylinder.
Pause briefly at the start of each repetition to reset your breath and evaluate your exertion levels. If you feel lightheaded, winded, or unable to maintain an abdominal brace, end the set. Quality movement always takes priority over extra repetitions.
Building strength in midlife is a rewarding process that supports long-term mobility and independence. Combining clear technique with good pressure control lets you lift heavier weights with confidence. Exploring articles on nutrition and weight management can further complement your physical training and recovery.
Mastering breathing and bracing gives you control over your strength training, allowing you to build muscle safely through midlife and beyond.

Follow Refemina for research-led resources on hormonal change, strength, metabolism, nutrition, skin, intimate wellbeing and confidence through midlife.


Keep learning about the changes that shape energy, strength, confidence and wellbeing through midlife.
Explore Resources